
Photography is about capturing light, but what if you could paint with it? Light painting is a captivating photographic technique that allows you to create stunning and imaginative images by manipulating light sources. Whether you’re a beginner or an experienced photographer looking to delve into light painting, these five tips will help you get started and elevate your light painting skills to new heights.
1. Gather Your Gear: Before diving into light painting, having the right tools is essential. Here’s what you’ll need:
- Camera with Manual Settings: Light painting relies heavily on adjusting your camera settings, so a camera with manual controls is necessary.
- Tripod: A stable tripod is crucial to keep your camera steady during long exposures.
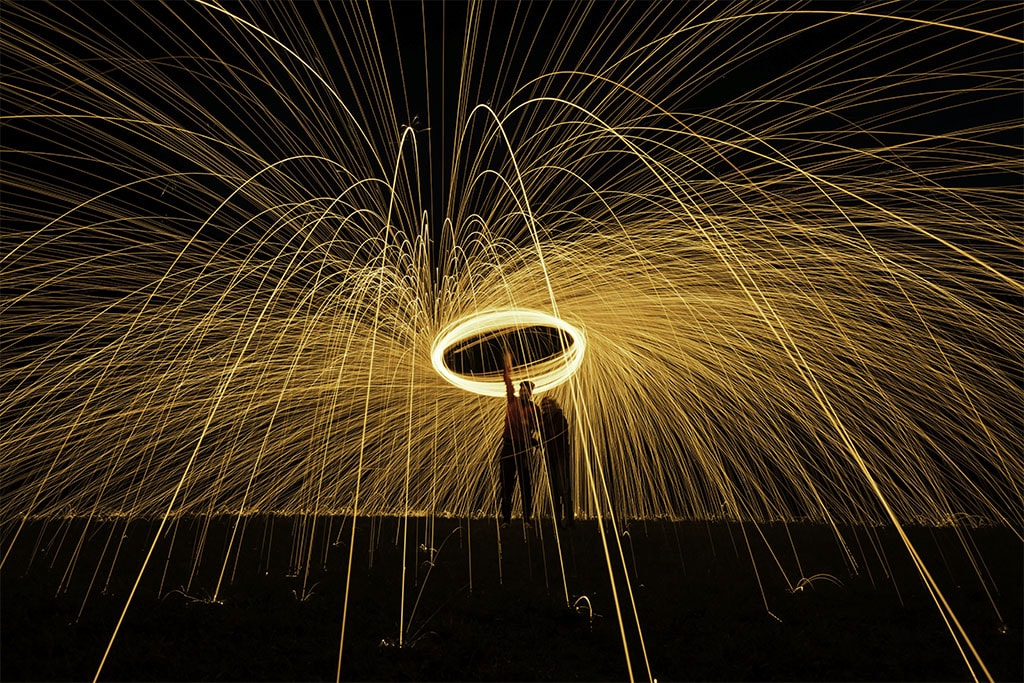
- Light Sources: You can use various light sources, such as LED flashlights, glow sticks, or sparklers.
- Dark Location: Find a location with minimal ambient light to avoid unwanted light pollution in your shots.
- Remote Shutter Release: A remote or cable release will help you take pictures without touching the camera, preventing camera shake.
2. Set Up Your Camera: Light painting requires long exposure times, so it’s crucial to configure your camera settings properly:
- Manual Mode: Switch your camera to manual mode to control the aperture, shutter speed, and ISO.
- Low ISO: Minimize image noise by using a low ISO setting (typically 100-400).
- Small Aperture: Start with a small aperture (e.g., f/8 to f/16) for a deep depth of field.
- Long Exposure: Set your shutter speed slowly, usually from 10 seconds to several minutes, depending on your desired effect.
3. Plan Your Composition: Like any form of photography, composition plays a vital role in light painting. Before you start, think about what you want to capture. Here are some ideas:
- Silhouettes: Use your light source to create a subject’s silhouette against a dark background.
- Light Trails: Move your light source through the frame to create mesmerizing light trails.
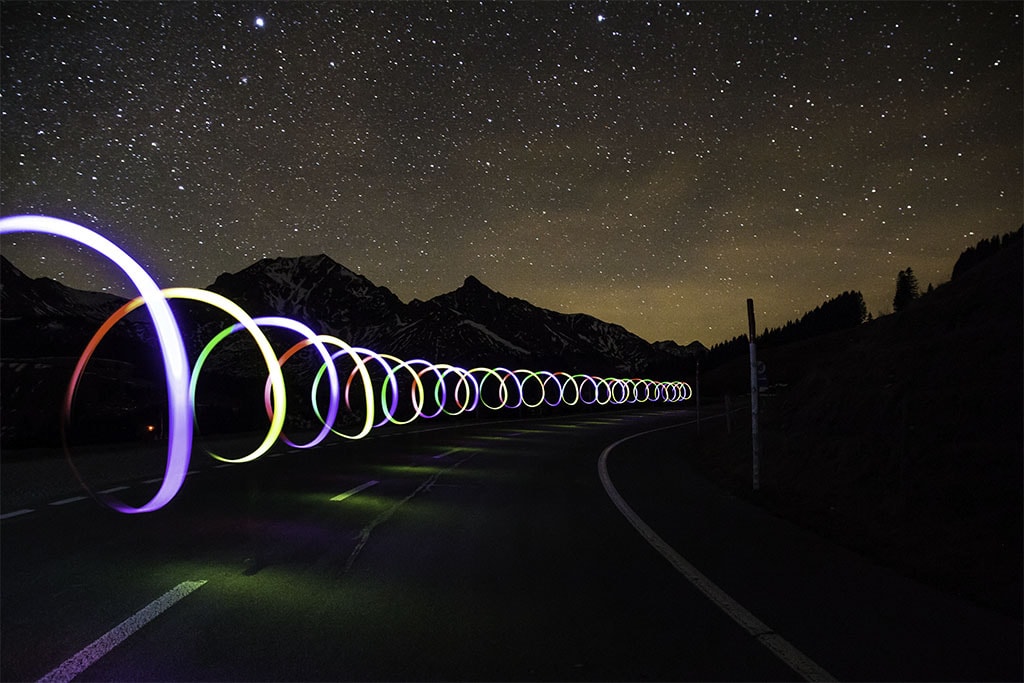
- Orbs and Patterns: Experiment with circular movements to form orbs or complex patterns.
- Foreground Elements: Incorporate objects in the foreground to add depth and interest to your image.
4. Master Light Painting Techniques: There are various techniques you can use to paint with light effectively:
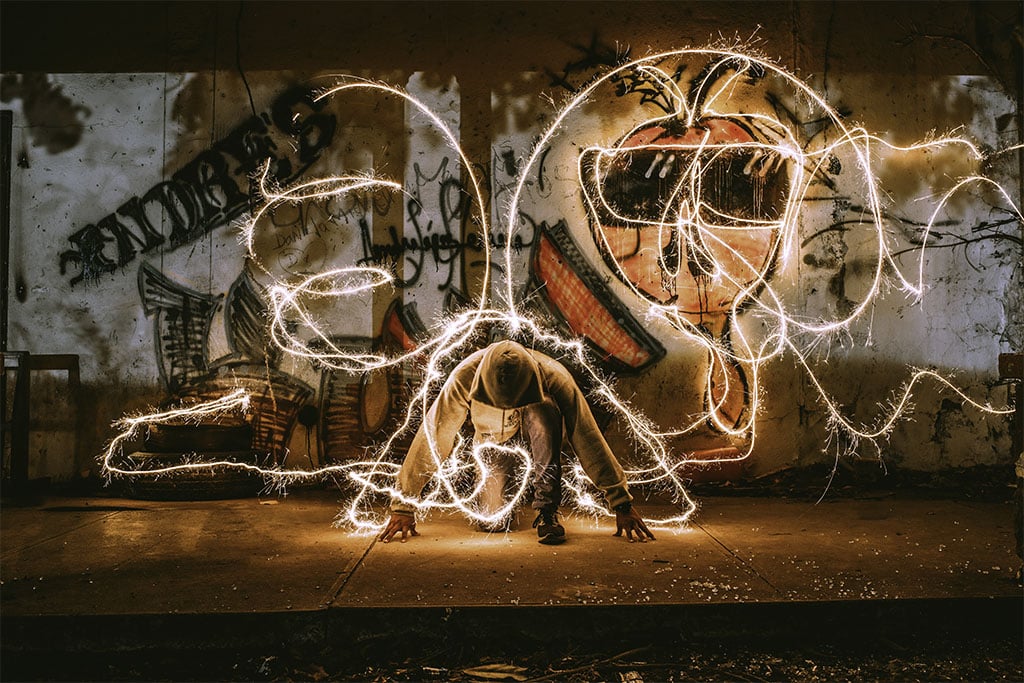
- Freehand Painting: Hold your light source and move it around to “paint” the scene. Experiment with different movements and speeds to create unique effects.
- Stencils: Create custom stencils or use household objects like cookie cutters to shape the light.
- Pixel Stick: Invest in a pixel stick, a tool designed specifically for light painting, which can display images or text in your photos.
- Multiple Exposures: Combine multiple exposures in post-processing for intricate compositions.
5. Experiment and Learn: The beauty of light painting is that it’s an art form with endless possibilities. Don’t be afraid to experiment and learn from your mistakes. Here are some additional tips:
- Practice Patience: Light painting can be time-consuming. Be patient and take your time to perfect your shot.
- Experiment with Colors: Use colored gels or filters to add vibrant hues to your light source.
- Edit Thoughtfully: While you can enhance your images in post-processing, try to achieve your desired effect in-camera as much as possible.
- Learn from Others: Study the work of renowned light painters and join photography communities to gain inspiration and knowledge.
In conclusion, light painting is a captivating and creative form of photography that allows you to illuminate your imagination. With the right gear, camera settings, composition, techniques, and a willingness to experiment, you can produce mesmerizing and unique light-painted images that will leave viewers in awe. So grab your camera, light sources, and tripod, and embark on a journey of artistic exploration through light painting.


Recent Posts
Twenty Years in the Wild: The Patience Behind Capturing the Swallow Migration.
The Colorado River near Castle Dome glowed with first light, the water turning from ink to molten copper as the desert woke. Out of the riparian thickets rose a living wave of thousands of Tree...
Hey there, fellow shadow chaser. If you’re reading this, you’ve probably stood in golden hour light, watched a bird, a car, or a lone tree melt into a perfect black shape against a blazing sky,...