
Use this camera and lens settings for birds in flight.
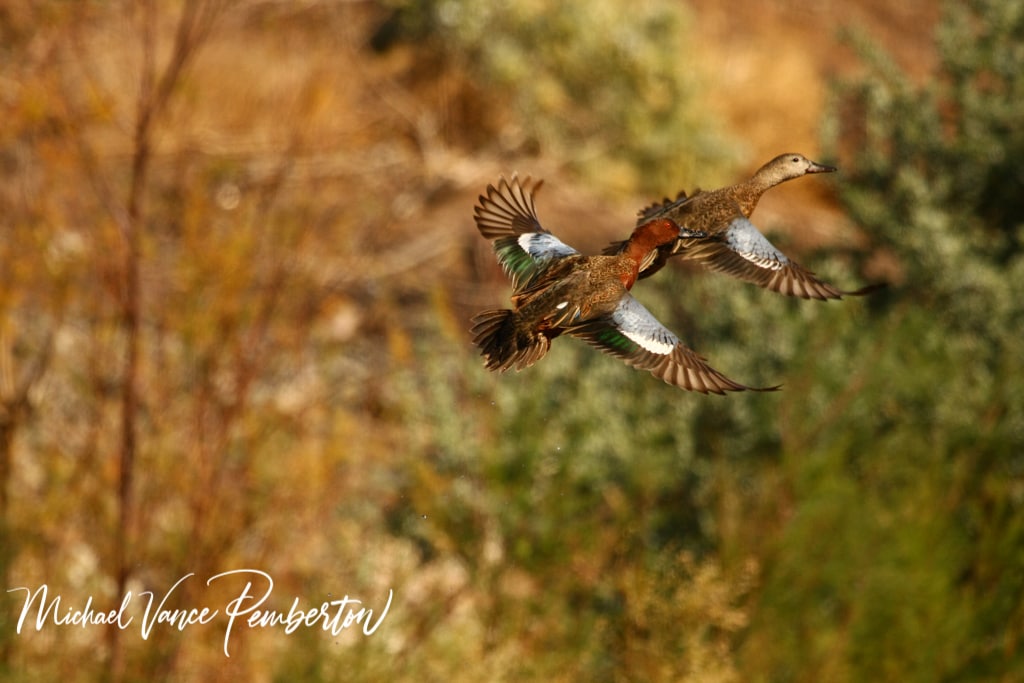
This article outlines the camera settings I’ve used over the years to photograph birds in flight. I recommend using an f-stop of 5.6, a shutter speed of 1/1000, and an iso of 800 or higher depending on the conditions of the light you’re shooting in. One of the many things I love about bird photography is photographing birds in flight. I went out for 90 days straight to photograph Cinnamon Teal ducks in flight, and after that 90th day, I got the shot I was looking for.
Every day it was a battle to get that great shot because a hawk would fly in and scare the ducks away or they wouldn’t be there, or they went the wrong direction when they took flight. So stay patient when you’re trying to achieve that great shot of birds in flight.
Another thing I always tell people when they ask me for help with their bird photography is read. I advise them to read and understand their camera manual. If you haven’t taken the time to read your manual, you should. I resisted reading my manual for years, and when I finally took the time to read the manual, it helped me improve my bird photography. I wasted years photographing birds in flight because I didn’t know how to use my camera correctly. So don’t make the same mistake I did, read your manual. Read more info available for further detailed information.

Camera mode settings for birds in flight.
When photographing birds in flight, I always use the AV setting for aperture priority or depending on your camera it could say TV or S for the setting for shutter priority mode. I think trying to use the full-auto setting or the P setting for program mode won’t do you any good because most of the time, this setting always has a slower shutter speed. I say it is still better when you take control of the camera settings to ensure a better chance of getting great shots of birds in flight. At the very beginning, when I started to photograph birds in flight, it was very upsetting. I would spend hours photographing these birds, and they were always blurry because I did not choose the right settings. So make sure you select the right setting. The correct setting for me is the A setting for aperture priority mode.
Shutter speed.
Photographing birds in flight take talent, knowledge, and skill. You want to choose an f-stop and ISO combination, which will give you a shutter speed of 1/1000 or higher. It will be challenging to get a bird in flight sharp if your shutter speed is under 1/1000. Now you don’t need to have such a fast shutter speed if you’re looking to photograph a bird perched on something like a branch or a stationary item. I would say a shutter speed of 1 /150 to 1 /500 is a reasonable shutter speed for birds perched on a motionless object. I always choose on the side of caution when photographing birds. I try to stick to the 1 /1000 shutter speed even when the birds are perched because they’re probably going to fly off sooner or later.
Metering mode.
There are three positions: Spot, Matrix metering or Evaluative metering for Canon users, and Center-Weighted – you will hear this from me all the time, read your manual. It will help you understand what metering options are, what modes are available with your camera, how to use them, and when to use them.
So, what metering mode should you use? First, let me explain what spot, matrix, and center-weighted metering modes are? Spot metering means the camera only uses a tiny part of the light sensor.
Matrix metering means the camera handles all or most of the light sensor. Center-weighted metering means the camera uses a part of the light sensor in the middle of the frame. The metering modes help you to get the proper light exposure you’re looking for.
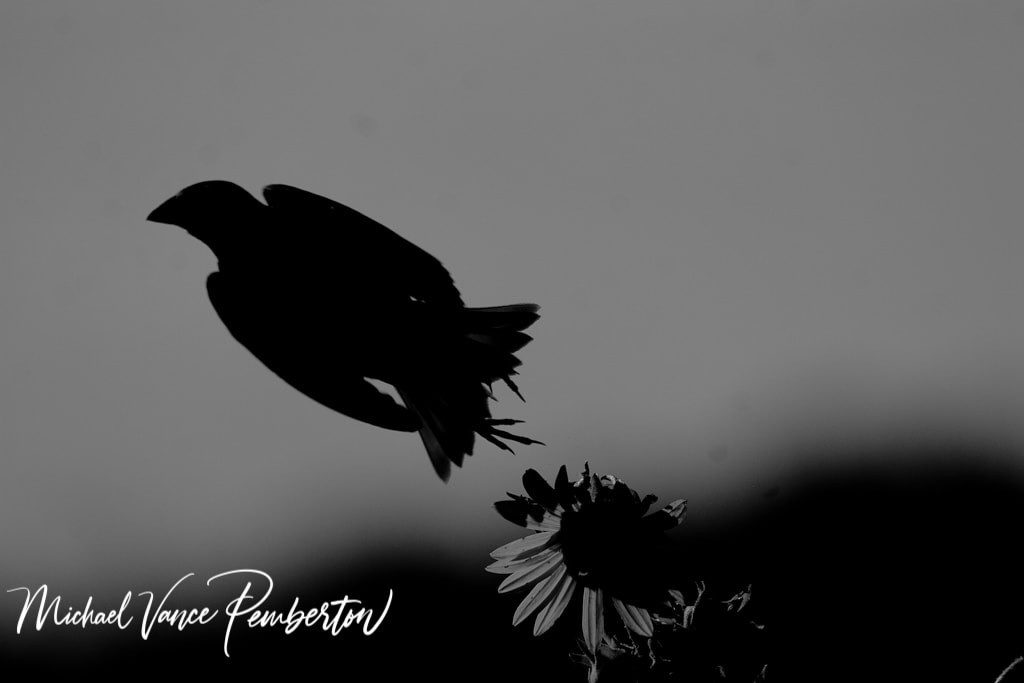
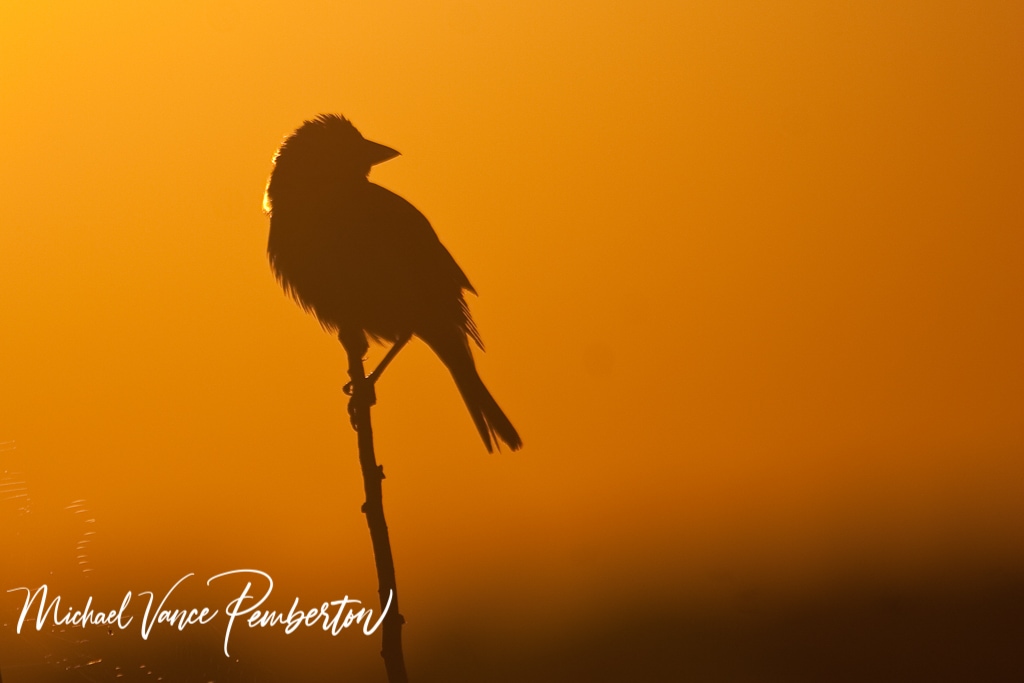
Here are some simple rules and guidelines to follow. I suggest using spot metering when you’re going to be photographing birds that are backlit. When your bird is the central part of your scene, or it’s a very tight shot, you want to make sure to have a great balance between both use matrix mode. If you’re photographing in bright sunlight that is a little bit harsh and variable, you want to use center-weighted metering.
Autofocusing.
There is a variety of autofocus settings and terminologies depending on which model of camera you are using, so I would always recommend reading your manual. Here are some suggestions, use AF-C continuous autofocusing mode. I use this 99% of the time when capturing birds in flight. If the lens you are using has the subject tracking option, this will increase your chances of getting a sharp bird in flight to almost 100%.
Frames per second.
FPS, or frames per second, refers to the speed at which a camera can capture photos to the memory card. Photographers say you need to have a camera that has 10 frames per second or higher. I’ve shot with both, some had 4 fps, some had 10 fps, it really doesn’t make a difference you. You will take more photographs when you have a higher frame per second, but it really doesn’t matter to me. I think it’s more important to perfect your technique of taking photos of birds in flight, then it is in having a camera that has more frames per second.
Image Stabilization.

Most digital cameras these days have a vibration reduction or image stabilization mode built into them just like the lenses do. When you are shooting at slower shutter speeds, and it helps to eliminate motion blur in your photo caused by your own body movement. When shooting at a shutter speed of 1/1600 or higher, you really don’t need to use the vibration reduction image stabilization options. Most lenses and cameras recommend to shut off vibration reduction option when using such a high shutter speed.
CONCLUSION:
So go out, take this information I’ve given you and make some great photos of birds in flight. If you have any suggestions that may help me or other readers to improve the bird photography shoot me an email, thanks.


Recent Posts
Twenty Years in the Wild: The Patience Behind Capturing the Swallow Migration.
The Colorado River near Castle Dome glowed with first light, the water turning from ink to molten copper as the desert woke. Out of the riparian thickets rose a living wave of thousands of Tree...
Hey there, fellow shadow chaser. If you’re reading this, you’ve probably stood in golden hour light, watched a bird, a car, or a lone tree melt into a perfect black shape against a blazing sky,...