
Composition Is Important In Waterfall Photography.
Just like all photography, having a good composition in your images is very important. To me, having an image with great composition is when a person looks at the picture, and it makes their eyes wander all around the image. The most important thing to understand is the rule of thirds. Rule of thirds have both Vertical and horizontal lines, plus the subject of the photo is placed at the meeting of those dividing lines.
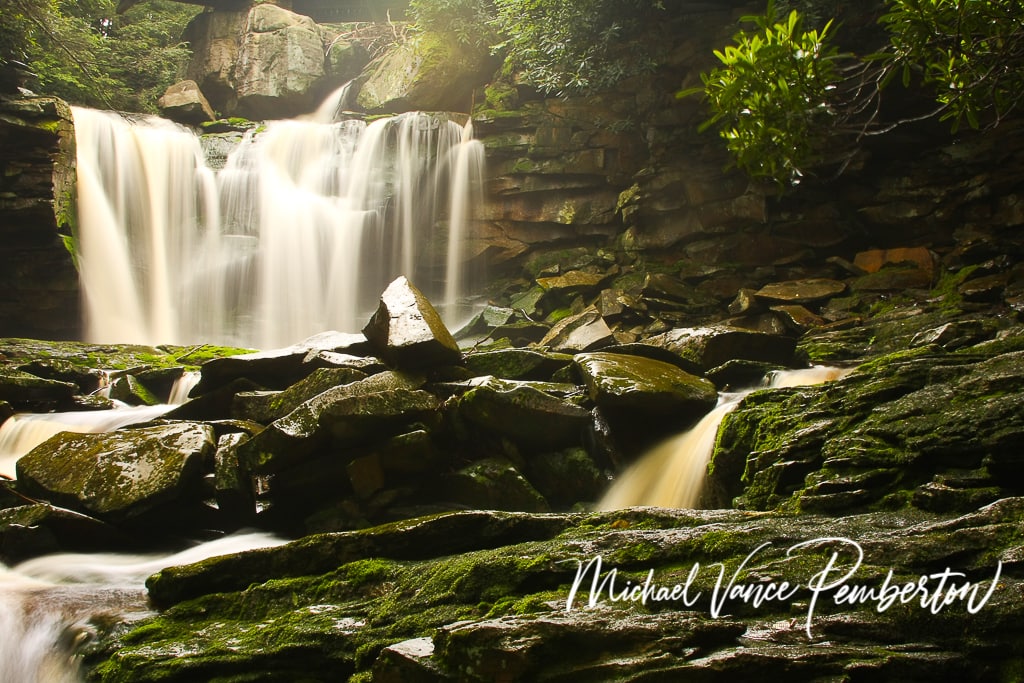
Use a Slow Shutter Speed.
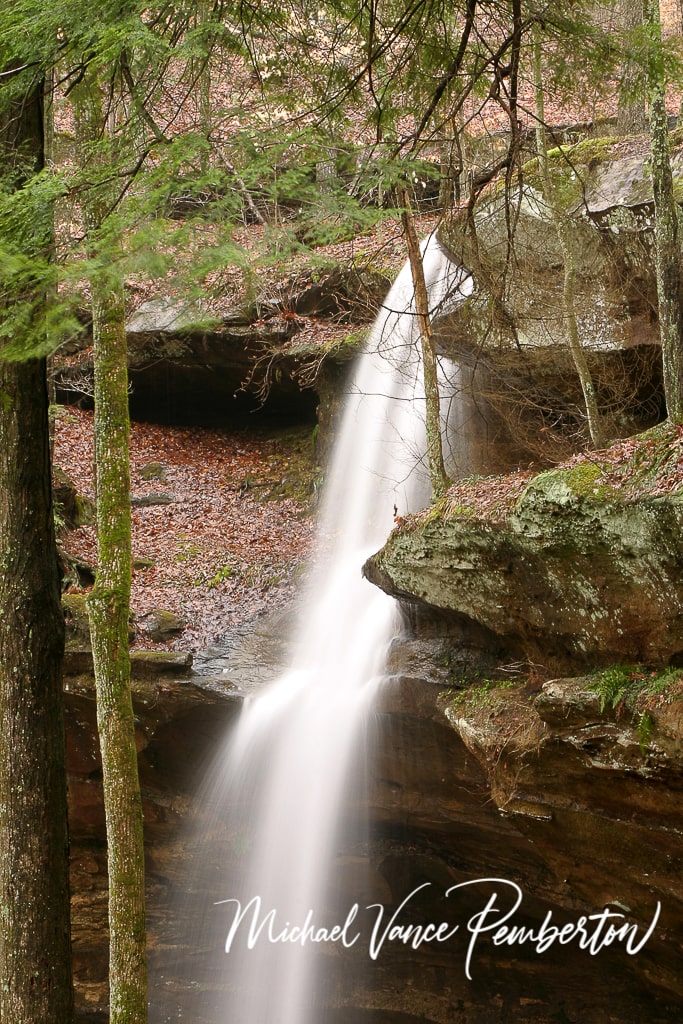
When I look at waterfall images, I love the ones where the water looks smooth and blurry. To make that happen, you need to use slow shutter speeds. It needs to be several seconds long; the longer, the better. That’s how you get the water to look smooth and blurry. If you use a fast shutter speed, it will stop the action and won’t have a smooth and blurry effect. It will look dull and plain.
Photograph on an Overcast Day.
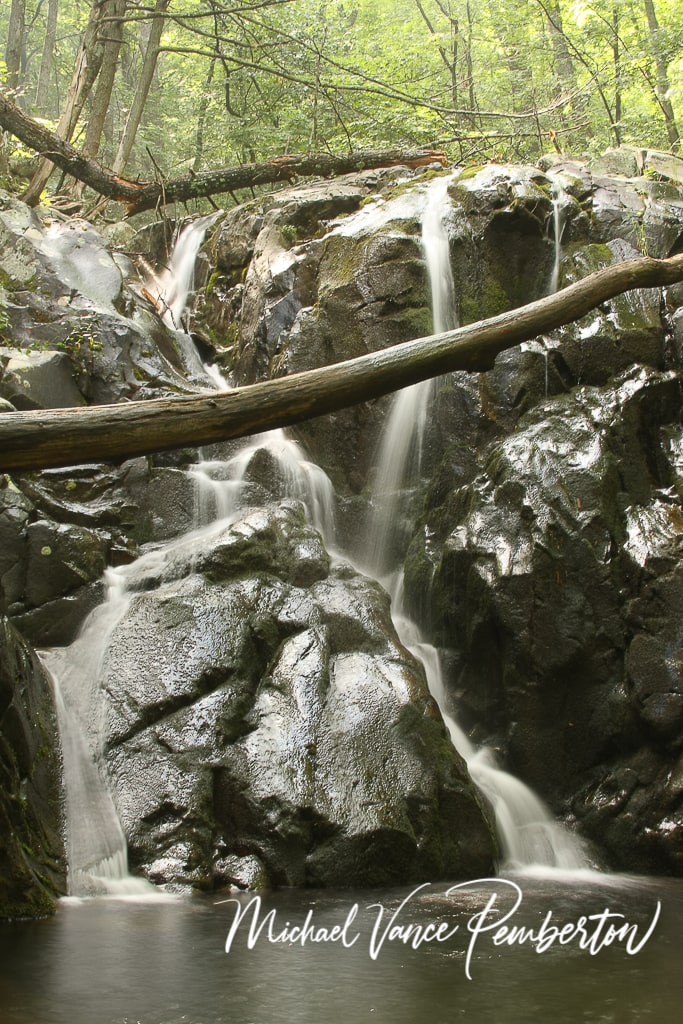
It’s hard to photograph during sunny days if you want the smooth blurry look. I remember when my aunt Kathey and I were at the Shenandoah National Park photographing waterfalls. It was an overcast day. They were times where it was sunny, but then the clouds would roll in and filter out the sun. There was a family there also photographing the waterfalls, and the father was watching me just standing there, not photographing anything. He said, did your batteries run out? I said no I am waiting for the clouds to come back so the sun will be filtered. It makes for a better photo. He said he did not have time to wait and kept taking pictures and left. Later on in the day, my aunt and I came across the family, and the father asked how my photos came out. I showed him the back screen of my camera. He said damn, I should have listened. Mine came out looking like crap! So if possible, go out on overcast days to photograph waterfalls.
Use a Neutral Density Filter On Sunny Days.
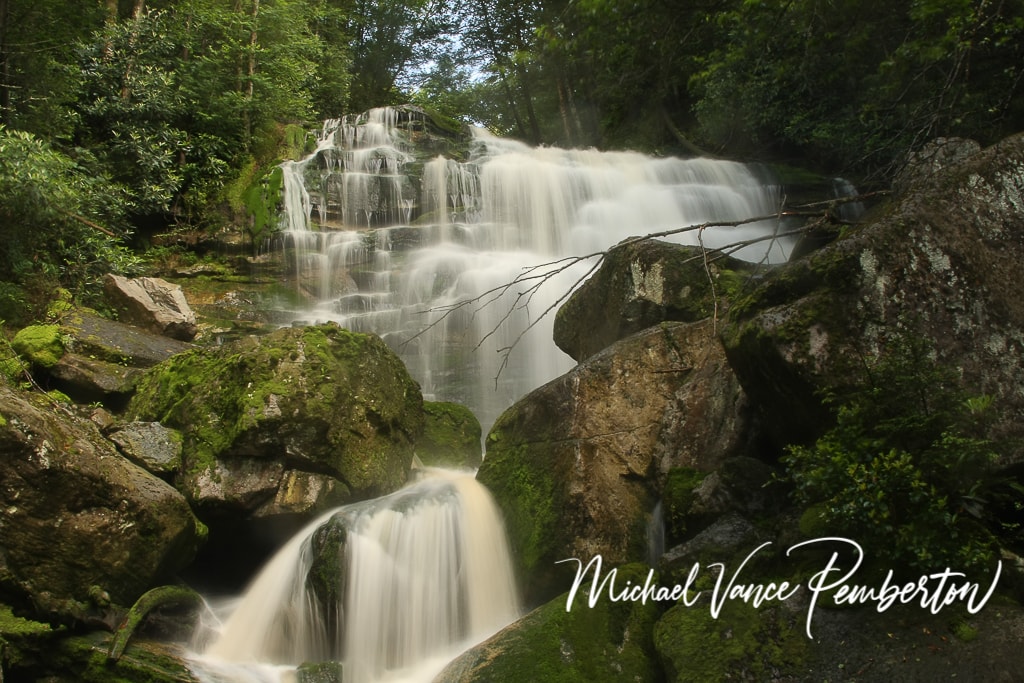
As I discussed early if possible, photograph waterfalls on an overcast day. But if that is not possible, use a neutral density filter. You can try using your lowest ISO allowed on your camera. You can increase your f/ number, which decreases the amount of light that hits the sensor on your camera. The best way to reduce the light hitting your camera’s sensor is to use the filter. It’s designed for this reason. It will help you to slow down the shutter speed of the camera.
There are several types of Neutral Density Filters that you can buy. There are inexpensive ones like the K&F Concept 55mm ND 1000 (10 Stop) ND Lens Filter around $29.99 click here. Then you have some that are more expensive like the Tiffen 77mm Variable Neutral Density Filter 77 VND the cost is around $125.00 click here.
Neutral Density filters have a number on them that says ND 0.6 or ND 1.5 etc. These numbers tell you the amount of light the filter stops. Try using different ones until you find the one that gives you the results you are looking for.
Use a Cable Release.
This one is pretty self-explanatory. Using a cable release will help with eliminating camera shake. I was not getting good images after several attempts to photograph waterfalls in the Hoosier National Forest Hemlock Cliff Area without a cable release. My aunt came to the rescue again and gave me her cable release because I left mine in the RV. Put it on my camera and took some shots, and they came out great. Make sure to check your camera bag to ensure you have all the gear you are going to need. I recently went to the beach in San Diego, CA, and forgot to replace the batteries in my cable release and had to drive to a gas station and buy batteries.
Use a Variety of Lens.
Don’t just settle for using a wide-angle lens. Try a variety of lenses like a telephoto. I have photographed waterfalls with a macro lens and came out with some great results. I found out the hard way when I was in the Smokey Mountains National Park with my aunt photographing waterfalls, and I was standing in the water super close and did not pay attention to the amount of spray that was landing on the lens until we got back to the RV. It was soaked, and the next day it would not work. I tried to dry it out, but we had to send it in for repair. So don’t make that mistake, use a telephoto lens, and stand back at a reasonable distance.
Use a Tripod.
I found a lot of people don’t use a tripod. I understand they don’t want to carry it around while they are hiking. These days the tripods are so lite because a lot of them are made out of carbon fiber. If you are looking and taking your photography seriously, it’s a no brainer to use a tripod. It helps you with camera shake, but it can also help when composing your images. Some are less inexpensive like the Esddi 79 inches Carbon Fiber Camera Tripod with 360 degrees Ball Head and carry bag. This one comes with a ball head which is excellent for $99.99 click here. Then there’s the Peak Design Travel Tripod (5 Section Carbon Fiber). It cost $599.95. click here.
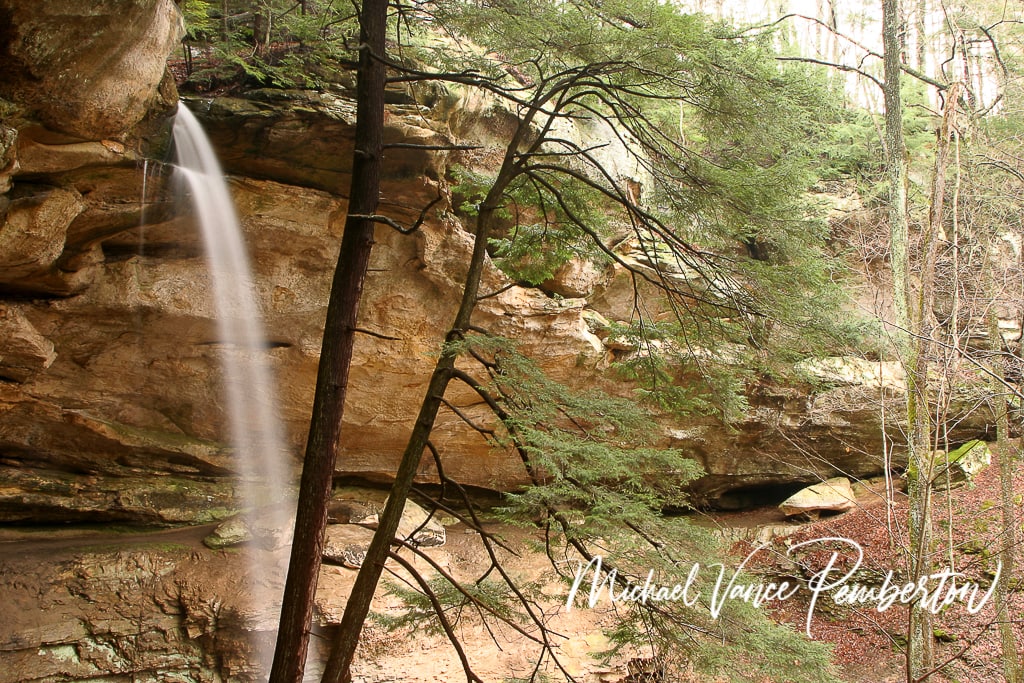
Protect your gear from the weather.
Like I mentioned above about how close you stand to the waterfall you’re photographing, it’s crucial to be aware of moisture. I think we all know that water destroys electronic equipment. I have camera gear that said it was waterproof well guess what nothing is a guarantee, so anything you can do to protect your gear is a must. When I first started out, my aunt would bring zip like baggies that she would cut at the sealed end and add a rubber band to the other end once it was covering the camera. These days there are products from companies like Thinktank that carry a variety of camera rain covers like the Hydrophobia DSLR/MIRRORLESS 300-600 V3.0 Rain Cover for $149.75 click here. Some people may think that’s a little pricey, but I would say it’s protecting thousands of dollars. I think it’s worth the cost to protect versus the cost of repair or replace your gear.


Recent Posts
Twenty Years in the Wild: The Patience Behind Capturing the Swallow Migration.
The Colorado River near Castle Dome glowed with first light, the water turning from ink to molten copper as the desert woke. Out of the riparian thickets rose a living wave of thousands of Tree...
Hey there, fellow shadow chaser. If you’re reading this, you’ve probably stood in golden hour light, watched a bird, a car, or a lone tree melt into a perfect black shape against a blazing sky,...