

There are several things you will need to take great photos for your products for your Etsy shop. Keep in mind the items you are photographing my change when picking out a camera. I would suggest getting a DLSR camera. You don’t need much to do a great job. Check out the list below for some help.
- What you will need to create photos.
- Learn the techniques to photograph odd items.
- Learn how to photograph jewelry.
- Read the manual of your camera.
- Be creative with your photos.
- Learn easy steps to edit pictures.
- Why taking good photos is essential.
- How to create your own styled product photos.
- Don’t make these mistakes that I made.
- Learn how to take photos with your phone.
What you will need to create great photos.
Patients are a must when learning photography, no matter what kind of photography it is. You will need a good camera, even your smartphone could be good enough. depending on the type of products you are photographing. If it’s something you need to photograph from a distance I would use a DLSR. Smartphone cameras have gotten so good you really don’t need much else when it comes to cameras. If you have a DSLR camera, your good to go. A point and shoot camera can work just as well.
Smartphones.
Pros: Smartphones are portable pretty easy to use, and Etsy has an app so you can shoot, edit, and list your photos quickly with your smartphone.
Cons: Smartphones do have some limitations, like they don’t take good photos in low light. Apple has made a lot of improvements but still has some issues. Having to zoom in on a product with a smartphone can be challenging. I would always use a tripod, even if you’re going to use your smartphone.
Point and shoot cameras.
Pros: They are affordable, and their lite weight and easy to carry around with you. Most of those types of cameras come with preset modes that are easy to use. They also have a macro option for close up shots.
Cons: One of the issues I have with this type of camera is that the built-in flash doesn’t work well when photographing products for Etsy. You don’t get the options you would if you were using a DLSR camera. You can’t control the automatic modes like you can with a DSLR camera.
DLSR Cameras.
Pros: You have so manymore options with a DLSR camera than the point and shoot camera and the smartphone would give you. Using that type of camera will have a larger sensor that can capture more detail. It gives you more leeway when photographing items in low light. Being able to change lenses is a huge plus. If you are selling various items of all shapes and sizes, you should use a DLSR.
Cons: They can get a little pricey. There also bulkier than a smartphone or a point and shoot. Learning the ins and outs of using it can be a bit daunting. But with some effort, you can learn everything you need to know and gives you a better chance and taking excellent photos of your products.
Learn the techniques to photograph odd items.

Photographing everything you sell on Etsy can get really time-consuming. If your photographing items like the African mask up above. Take the time to set up a routine for yourself. Believe me when you have to photograph new items because your items are all unique; you want an organized process.
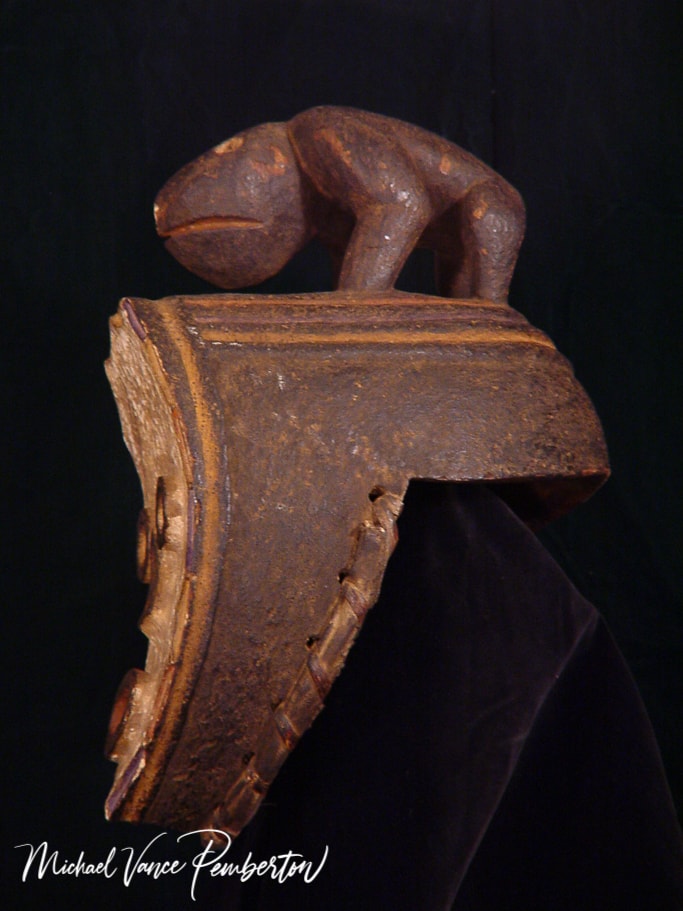
Get everything you need to take the photos. Have all the products close to you if you can. Show all sides of your items. Since your items are unique, odd use something that shows the use or accentuates the product.
Learn how to photograph jewelry.

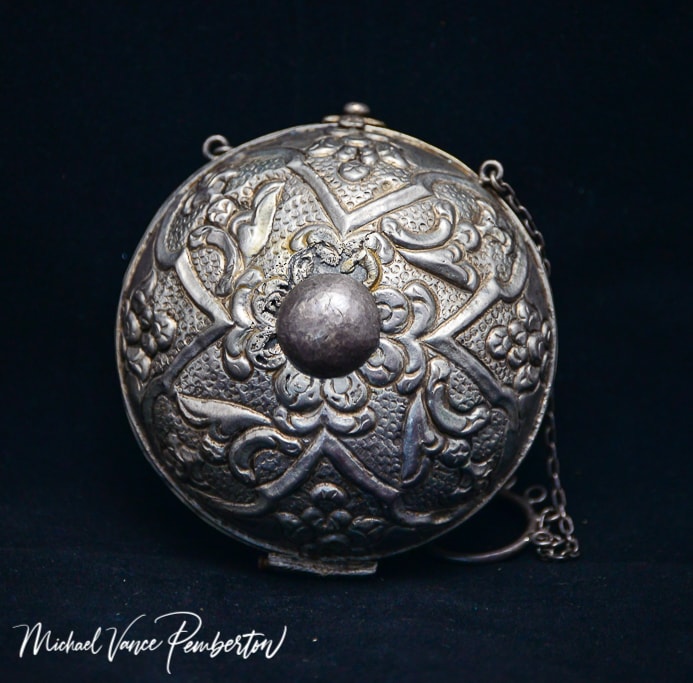
If you are going to sell jewelry, I would recommend you get a DSLR camera because of the options of lenses you can use. Jewelry can be very tough to photograph because it is shiny and odd shapes don’t help, especially necklaces. I spent hours upon hours trying to photograph some necklaces my aunt Kathey made.
So what should you do? First off, photography is about light. If at all possible, use natural light. Set up close to a window with afternoon light. Don’t take your items outside to photograph them. Stay inside and position a table close to a window. You can use a light reflector like this one here and direct the sunlight where you need it.
Depending on the type of jewelry you are photographing, I use a plain background as much as possible. I would stick to a black or white background. If you think you need a background that’s not a plain color, be careful that the background you use does not distract from your jewelry.
Read the manual of your camera.
This may seem obvious, but I put this off so many times in the past I can’t tell you I regret that to this day. There is so much help out there. If your not much for reading, check out Youtube for some help with your camera settings.
Be creative with your photos.
This may sound pretty easy to take creative photos. I have seen so many people try and to be creative, and the image of the product is lost in the choices they made to create their photo. My best advice I got was to keep it simple.
Learn easy steps to edit your photos.
Youtube is the right choice for learning easy steps to edit your photos. You can google it. I’m working on some videos for Youtube on editing photos. Keep an eye out for the videos.
Why taking good photos are essential.
How many times have you looked at something online, and the product photo you’re looking at looks so good you have to buy it? That’s why it’s so important because the opposite happens when the product photo sucks. Make sure you’re not losing sales because your photos are turning people off.
How to create your own styled product photos.
Have a unique still to your brand. Make sure and create that in your product photos. Try and not to go overboard. Having too much going on in the background can be a distraction. Get a lot of opinions from the ones you trust to critique your photos.
Don’t make these mistakes that I made.
Read your camera’s manual. I can’t say this too many times. It will save you so much time. Make sure you have an idea of the brand you are creating. Make sure your photos represent that brand. Be patient when your taking photos. I used to get so upset because the light on my products sucked. So learn all you can about how to use light for your product photos.
Learn how to take photos on your phone.
Conclusion: You can find all kinds of apps that you can use to edit photos you took with your phone. It might seem hard because some phone’s screens are small, but you can still create awesome photos with your smartphone.


Recent Posts
Twenty Years in the Wild: The Patience Behind Capturing the Swallow Migration.
The Colorado River near Castle Dome glowed with first light, the water turning from ink to molten copper as the desert woke. Out of the riparian thickets rose a living wave of thousands of Tree...
Hey there, fellow shadow chaser. If you’re reading this, you’ve probably stood in golden hour light, watched a bird, a car, or a lone tree melt into a perfect black shape against a blazing sky,...