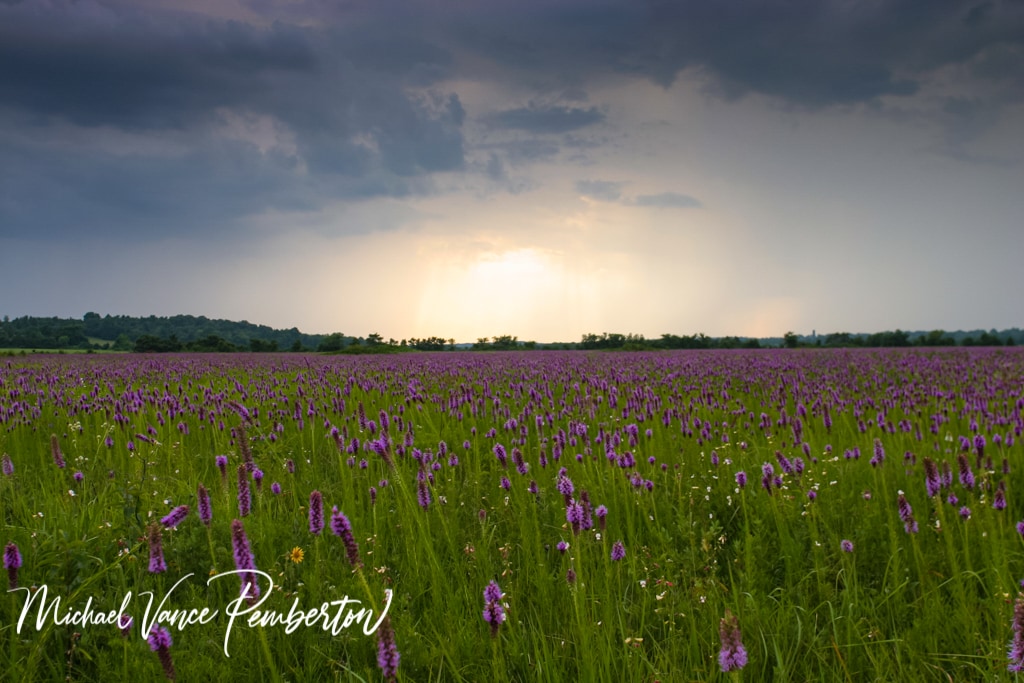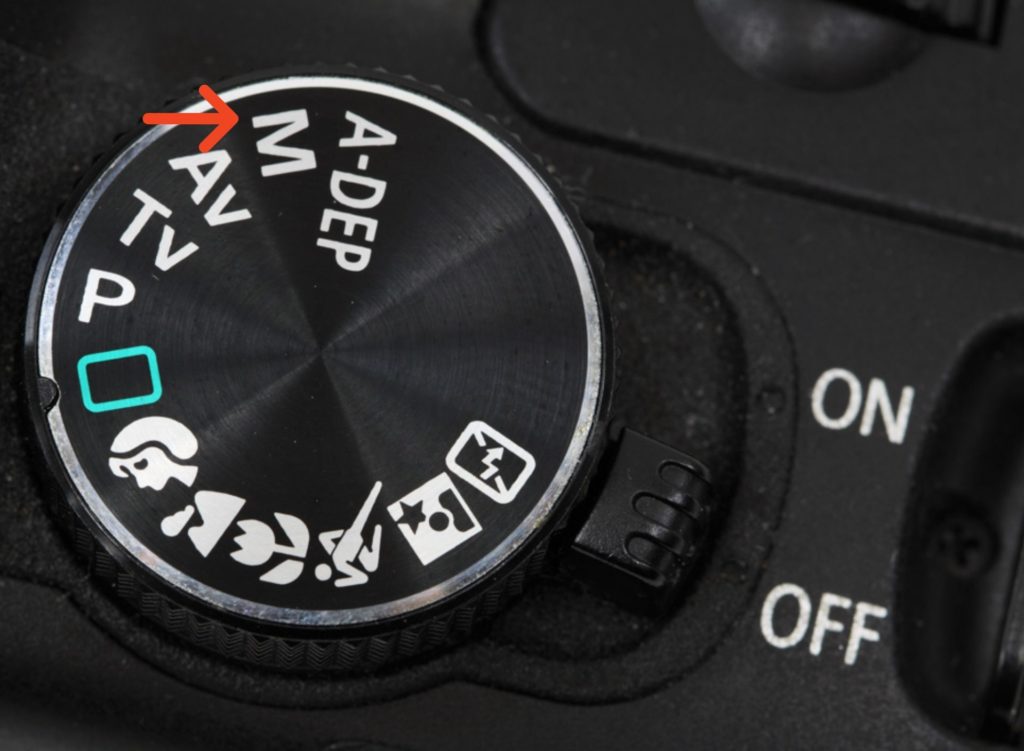
One of the most difficult things I’ve ever had to experience in photography was getting the right exposure in my photos. If you’re new to photography you know exactly what I mean. You can see in the image above, how dark it is. I just got a new digital camera and was having a hard time figuring it out. Then the one below which is better. I had to fix it in Photoshop, but once I got better at understanding how to do it out in the field with my new camera. I spent less and less time having to edit my photos with Photoshop. The goal of a great photo is to have realistic tones, dark but detailed shadows, bright and delicate highlights. To make this goal happen you need to set the shutter speed and aperture so they let in the correct amount of light on to the sensor of your camera. Most cameras have a latitude, for some exposure error; it allows for a range of exposures all of which will produce excellent images.

To get the best images, however, will result from getting the proper settings in your digital camera correct. Getting overexposed images means there is too much light that has reached your camera’s sensor. When this happens it’s difficult to get an image that looks correct and sharp. The opposite of this is badly underexposed images. This means two little light has reached the camera’s sensor. This will result in an image showing no detail in the shadows, something hard to fix in programs like Adobe Lightroom or Photoshop. You can improve it some but it is better to get the proper exposure in the first place.
Exposure Basics to Remember.
So what do I mean by exposure? Exposure = Intensity (aperture) Times (shutter speed). Plus knowing what metering option to choose.
Exposure is a combination of the amount of light reaching your camera’s sensor (controlled by the size of the aperture) and the amount of time the light hits your camera’s sensor (controlled by the shutter speed.) The more light your camera sensor receives the sensor converts it into energy and a computer built inside of the camera reads just how much energy is being produced. So the computer measures how much energy each pixel has and allows the sensor to determine what areas of the image are dark and light. You can adjust the exposure of your images by changing the shutter speed, aperture, or both.
Exposure Modes You Need To Know.

Manual Mode.
The first choice would be to use Manual mode where you set both the shutter speed and aperture. The cameras built-in meter can be used to calculate the correct settings. The best combination manually is when you are working in a situation where the light remains constant. In a situation where the light is always changing one of the automatic options below will work better for you.

Aperture Priority Mode.
The second choice would be to use aperture priority mode. You select the aperture and the camera adjusts the shutter speed. When using this mode you control depth of field. For example, setting the aperture at its widest will often blur the background and will provide the fastest shutter speed possible in each situation you come across.

Shutter Priority Mode.
The third choice would be to select shutter priority mode. You select the shutter speed and the camera adjusts the aperture. To use this mode set the shutter speed at its fastest to stop action and to avoid undesirable blur caused by camera movement. You might want to select a very slow shutter speed so that you can pan and capture the feeling of movement in your picture.

Automatic Mode.
The fourth choice would be to use the automatic mode. The camera adjusts both shutter speed and aperture. Depending on your camera’s program, the camera may select the fastest possible shutter speed or set a slower shutter speed rather than opening the lens to the widest aperture. Some cameras will select the fastest shutter speed possible for each situation, which helps you avoid blur caused by camera movement. You also need to know what metering mode to use.
Metering Mode.
There are three positions: Spot, Matrix metering or Evaluative metering for Canon users, and Center-Weighted – you will hear this from me all the time, read your manual. It will help you understand what metering options are, what modes are available with your camera, how to use them and when to use them.
So what metering mode should you use? First let me explain what spot, matrix, and center-weighted metering modes are? Spot metering means the camera only uses a tiny part of the light sensor.
Matrix metering means the camera handles all or most of the light sensor. Center-weighted metering means the camera uses a part of the light sensor in the middle of the frame. The metering modes help you to get the proper light exposure you’re looking for.
Here are some simple rules and guidelines to follow.
I suggest using spot metering when you’re going to be photographing something backlit.
When your subject is the central part of your scene, or it’s a very tight shot you want to make sure to have a great balance between both use matrix mode.
If you’re photographing in bright sunlight that is a little bit harsh and variable, you want to use center-weighted metering.
Conclusion: I hope you found this information helpful and it will save you a lot of time learning how to get an image properly exposed.


Recent Posts
In shadows cast by love's deceitful guise,He wandered blind, his heart the captive prize.Through realms unknown, where truth remained concealed,He followed trails of falsehood, unrevealed. Blinded...
Prepare to be amazed as the MCAS Cherry Point Air Show returns on May 11-12. This annual event, hosted by the Marine Corps Air Station (MCAS) Cherry Point in North Carolina, promises a weekend of...