
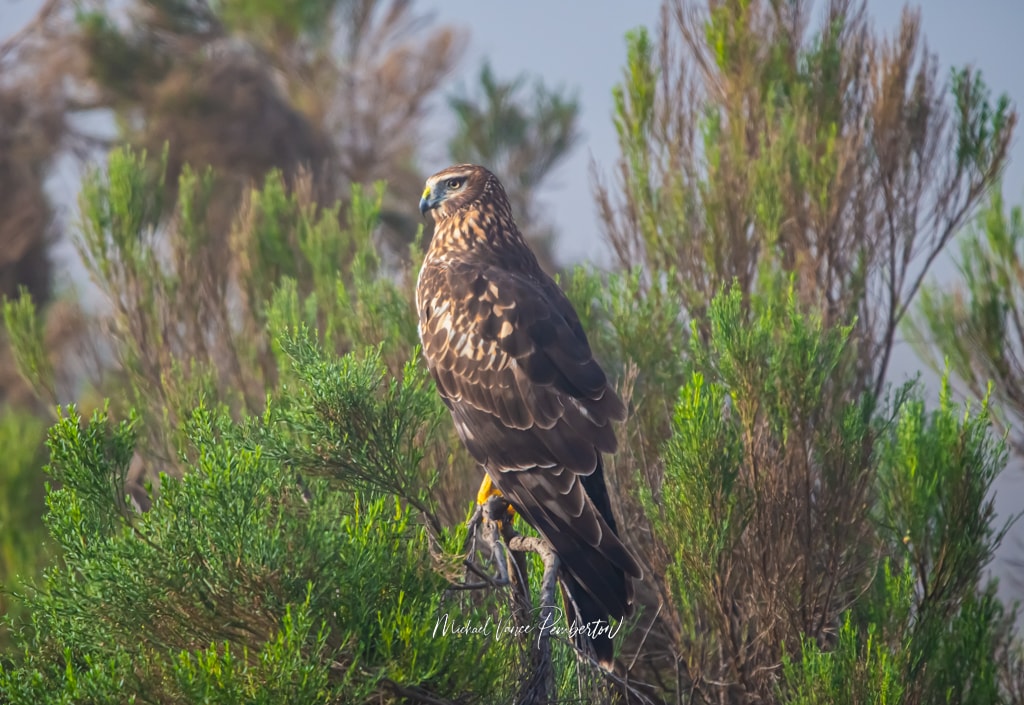
Bird photography in low light can be very challenging. What settings are the best to create those beautiful dramatic shots were are all looking for? Plus, we all want sharp images. So I know that low-light bird photography is what people try to avoid because it is not easy!
I can understand why. At times your photographing something that’s not standing still for a long time. Or it comes flying by at a hundred miles an hour. Or how about the White-Tailed Kite below photographed in the fog.
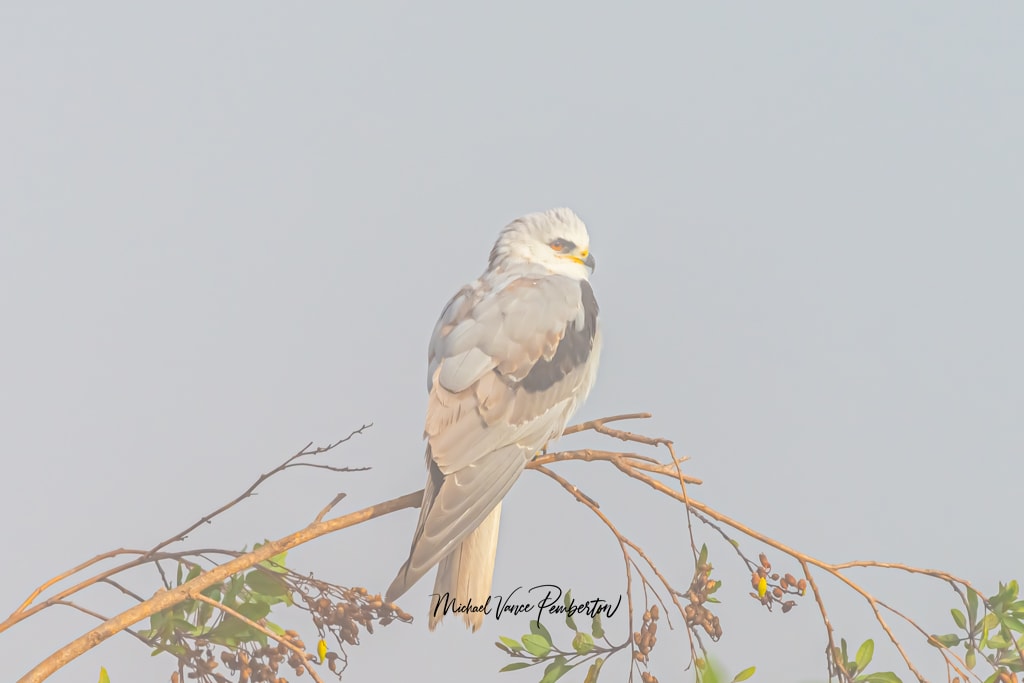
Fog makes for some fantastic low-light photography.
I believe it’s a mistake not to go out during a cloudy day because there are many things you can do to increase your odds of capturing beautiful images. Plus, you can, at times, capture super unique pictures because, as I said early, many people avoid low light days.
Here are my top tips for helping you capture images of birds in low light.
1. Bump up your ISO.
2. Match your aperture with your shutter speed.
3. Zooming in and out can be trouble.
4. Burst mode is a must.
5. Never underexpose your images in low light.
6. Low light during the golden hour is best.
7. Shot in RAW mode.
Bump up your ISO.
Yes, the one thing most photographers are afraid of. No one would want a lot of noise or grain if you were using film in their images, of course. However, when I teach one on one people are shocked at how high my ISO settings are. So I share with them that I would instead take a chance and use a higher ISO setting and fix the noise with Photoshop or Lightroom than have an image so blurry it’s no good.
Don’t be afraid of using ISO’S as high as 1/3200. I try not to go much higher, but that depends on your camera. When you can try as many different ISO settings when photographing a bird, then look at them later, blow them up, and look at the difference in the level of noise.
That is how I found the best high ISO choice for my camera, which is 1/3200. I don’t like to go any higher with my ISO than that. So take many images to learn how good your camera is when it comes to low light.

Match your aperture with your shutter speed.
When it comes to your aperture, the best thing you can do is shot wide open, which means use a small f stop. Say like f/4.0 or even f/2.8 is even better. It lets in the most light. But, unfortunately, your lens may not have that ability.
Most mid-range telephoto lenses have a maximum aperture of about f/5.6 or f/6.3. So keep your aperture wide opened.
When it comes to shutter speed, to stop action, you need your shutter speed to be over 1/1000. So that means find a combination of your ISO, say ISO 800 or whatever it might be, and f/stop like f/4.0 or f/5.6. Use a small f/stop which will let in more light.
Zooming in and out can be trouble.
When you zoom in and out, your f/stop will change. For example, you zoom out to 600mm but can get closer to your subject, so you pull back to 300mm.
Here is what to be careful of when zooming in and out. First, if you go from, say, 300mm to 600mm, make sure to check that the shutter speed is over 1/1000. When your zoom out at 300mm, your letting in more light. Zooming out to 600mm means less light. Second, check your ISO and up it if your shutter speed is below 1/1000.
Burst mode is a must.
Shooting in burst mode means more chances of getting a good sharp shot. More frames per second is what I am saying. That does mean more images to edit, but hey, it’s what you need to do to increase your chances. Make sure to take advantage of your camera’s ability to capture as many images as quickly as possible.
Hold down your shutter release button and let it rip!
Never underexpose your images in low light.
If you do, your images will have so much noise they will probably be no good for anything. In the old days with film, we called it grain. So make sure not to underexpose your images. There’s nothing worse than getting home downloading your images to find out there horrible because you underexposed them.

Low light during golden hour is best.
The light during the golden hour is amazing. Looking to capture an image in low light that you will be proud of. Go out during that time of the day; in the morning, it is the hour after the sun comes up.
Then in the evening, it’s the hour before the sunsets. The quality of the light at that time is unparalleled to any other time of day. We, as photographers, know it’s all about the light.
Shot in RAW mode.
This is a must to edited images you take in low light. It will give you more options when it comes to editing them. If you shoot them in JPG mode decreases that option.


Recent Posts
Twenty Years in the Wild: The Patience Behind Capturing the Swallow Migration.
The Colorado River near Castle Dome glowed with first light, the water turning from ink to molten copper as the desert woke. Out of the riparian thickets rose a living wave of thousands of Tree...
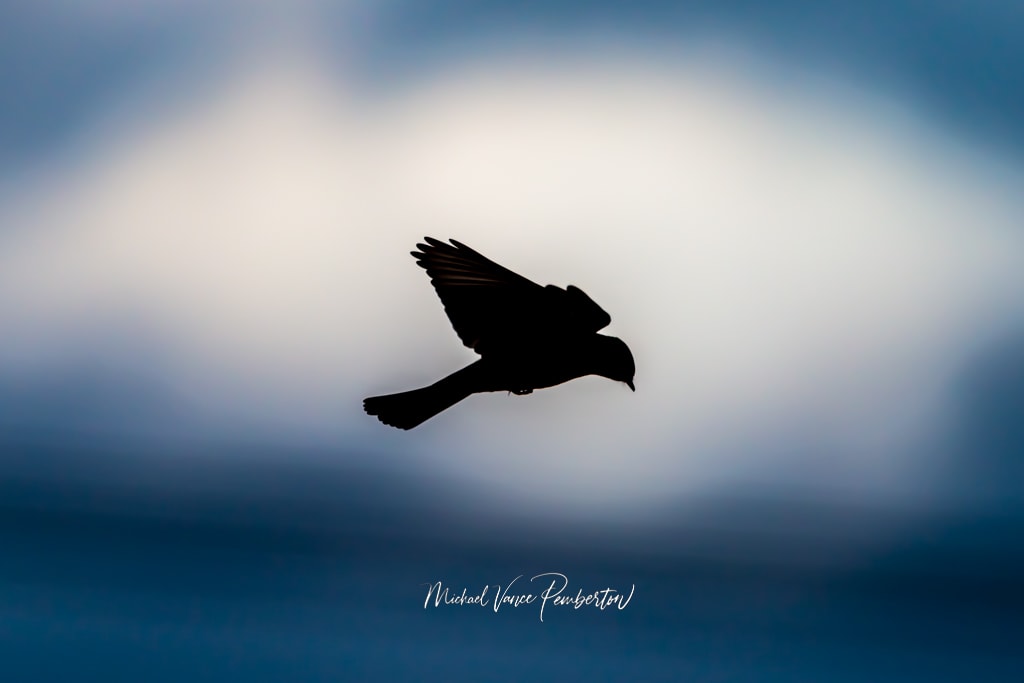
Hey there, fellow shadow chaser. If you’re reading this, you’ve probably stood in golden hour light, watched a bird, a car, or a lone tree melt into a perfect black shape against a blazing sky,...