
Becoming an expert at silhouette photography is a great way to build a portfolio with a lot of variety. But, unfortunately, I don’t see a lot of silhouette photography. I hope we can change that by teaching others this style of photography. I learned it about 20 years ago, and it is one of the many styles I like to take; if silhouette photography interests you, keep reading.
You don’t have to be outdoors to take silhouettes; you need a light source, that’s about it, and something to photograph, of course. So I have done a lot of silhouette photography outdoors. It’s a large part of my photography portfolio. It takes some bits of patience and some basic knowledge.

Light.
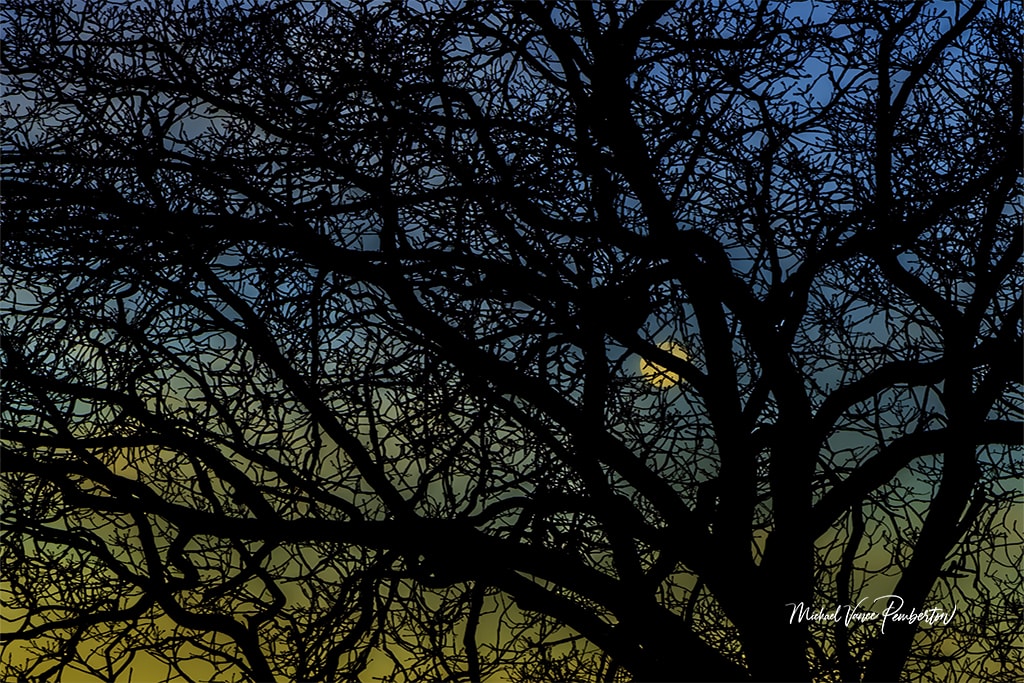
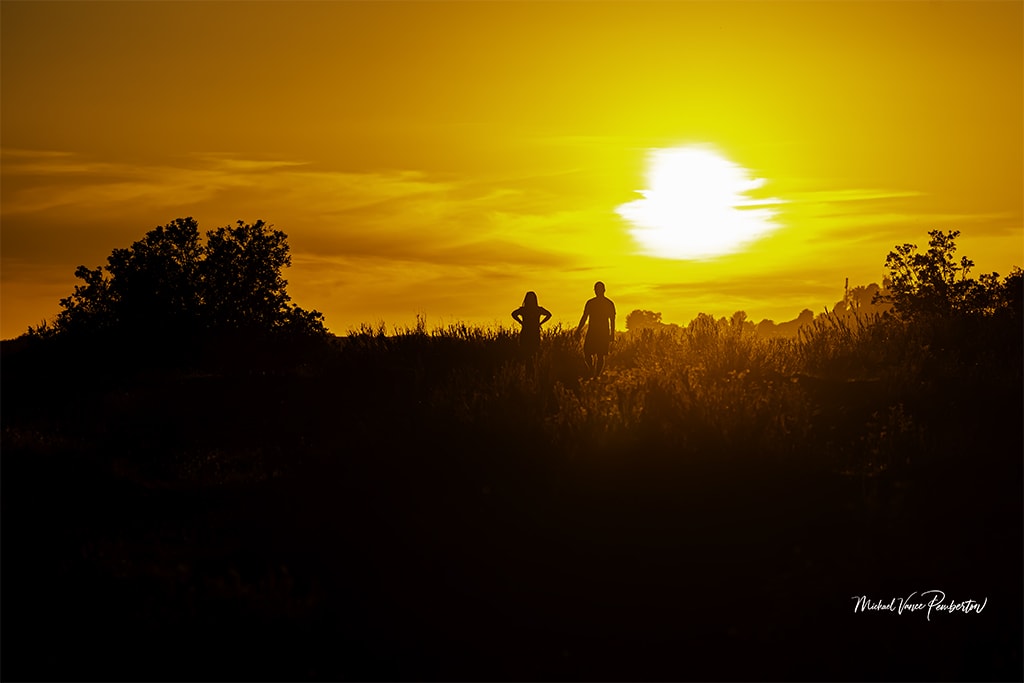
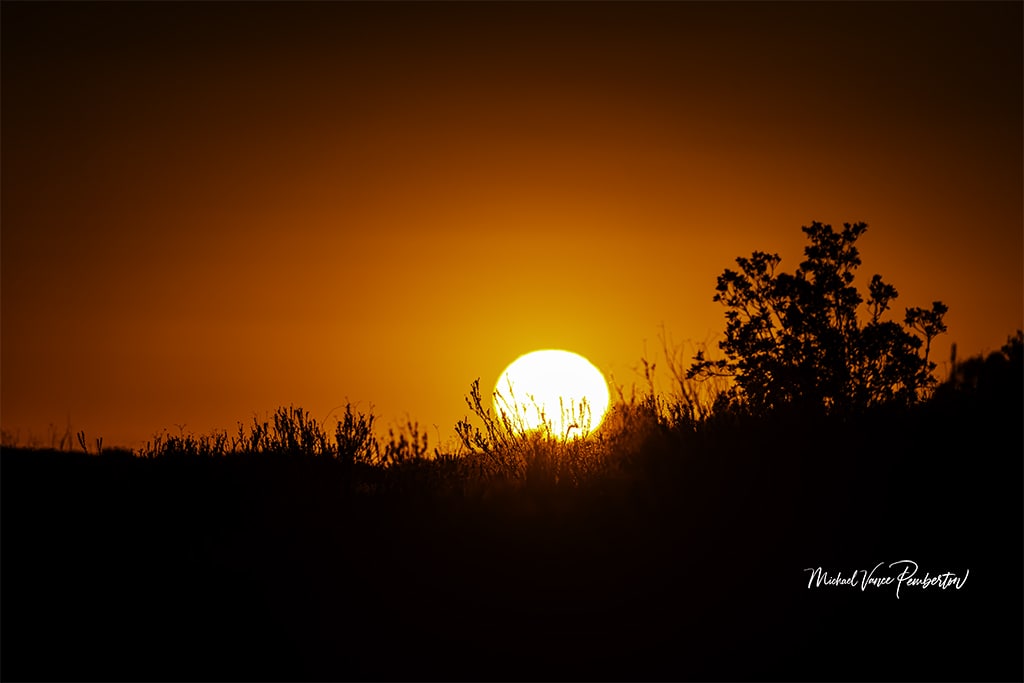
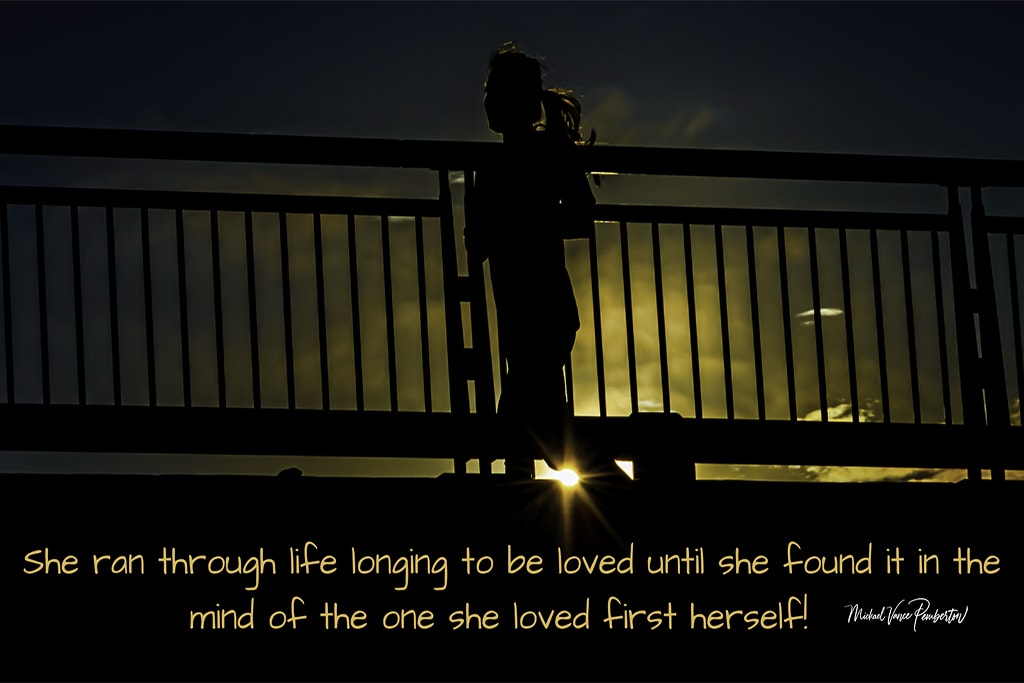
Silhouette photography is all about the light. To take a silhouette photo, you need to have your subject in front of your light source; basically, you need to be facing the light source instead of having it at your back.
I usually take my silhouette photos during the golden hour when the sun is low on the horizon. That’s when the sun first starts to rise and an hour before it sets. You don’t have to take photos during that time, but you will have some beautiful warm colors in your pictures if you do.
When taking silhouette photos, make sure to have your flash turned off. You need a light source, but you need your subject back-lit, not front-lit. If you have your camera set on automatic mode and you’re facing the sun, your camera’s flash will probably come on and ruin your shot.
It’s best to turn it off or use a setting where the flash won’t come on. So make sure not to have any other light source if you can control it.
Best settings for your camera.
You can use two different settings with your camera to take beautiful silhouettes. The one setting I use the most is Aperture priority. I believe this is the best setting for you because you set the aperture, and combined with the ISO setting you choose, the camera sets the shutter speed.
You want your ISO as low as possible, like an ISO setting of 100. The higher the ISO, the more digital noise you will have, so keep the ISO setting as low as possible.
The F-stop you should use needs to be low, like F-5.6 or lower, because you need to let in as much light as you can. Using a high number increases the depth of field, but depending on your ISO, it will be blurry because when rasing the F-Stop, you let in less light, which can cause the camera to take a more extended photo, aka a longer exposed image.
When first starting, you can use exposure bracketing. Some digital cameras have a mode that will allow you to get a burst of images at different exposures, giving you a better chance of getting a good one.
The other mode you can use is manual mode. When you use this mode, you will need to set all the settings for your camera. However, you have more control in this mode, allowing you to experiment.
Use a tripod.
How to edit silhouette photos.
The number one thing is to edit them the way you like your images to look. Unfortunately, when people ask me for help, I have found that people are afraid to move the sliders in their software to edit their pictures.
Move the buttons or sliders that your software uses. For example, move the blacks to the negative same for the whites. Don’t be afraid to experiment. My images are usually very colorful. This is because I use a lot of saturation in my pictures; also, I like a lot of contrast.
So try different things out when editing your images; before I took the time to learn about editing, there were a lot of pictures I assumed that I thought were no good. But then I learned how to edit them, and they turned out to be some of my best images.
It’s time to take some silhouette photos.
So remember to have the light source in front of you. Use the proper camera settings F-Stop 5.6 or lower. Use an ISO that is low, like ISO 100. Use a tripod.
The most important thing to do is to have fun. And whatever you do, don’t look directly into the sun! Plus, be careful facing your camera into direct light; it can damage the camera’s sensor.


Recent Posts
Twenty Years in the Wild: The Patience Behind Capturing the Swallow Migration.
The Colorado River near Castle Dome glowed with first light, the water turning from ink to molten copper as the desert woke. Out of the riparian thickets rose a living wave of thousands of Tree...
Hey there, fellow shadow chaser. If you’re reading this, you’ve probably stood in golden hour light, watched a bird, a car, or a lone tree melt into a perfect black shape against a blazing sky,...